An instructor will likely want to add files to their Bruin Learn course page at some point in the quarter. These could be a PDF reading, video, or any other type of file necessary for a course. This document explores ways you can manage and add files to a Bruin Learn page, such as a syllabus.
How can I access Files?
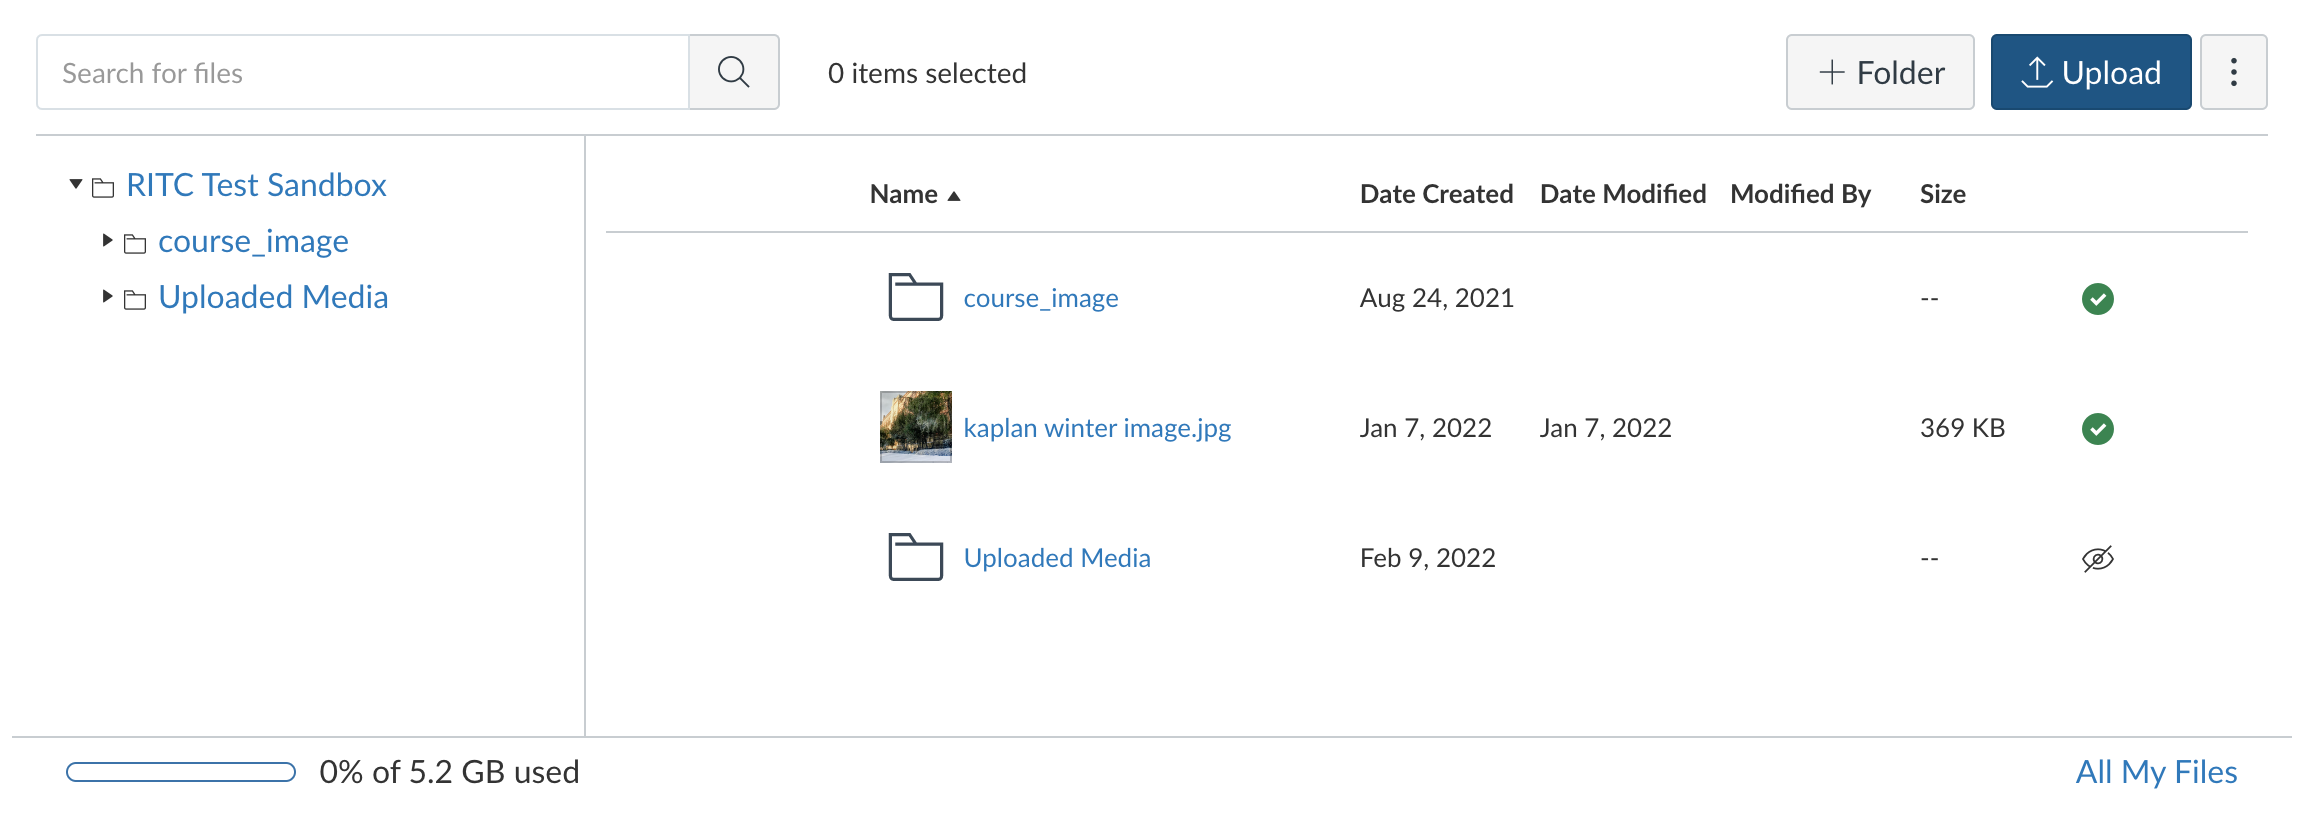
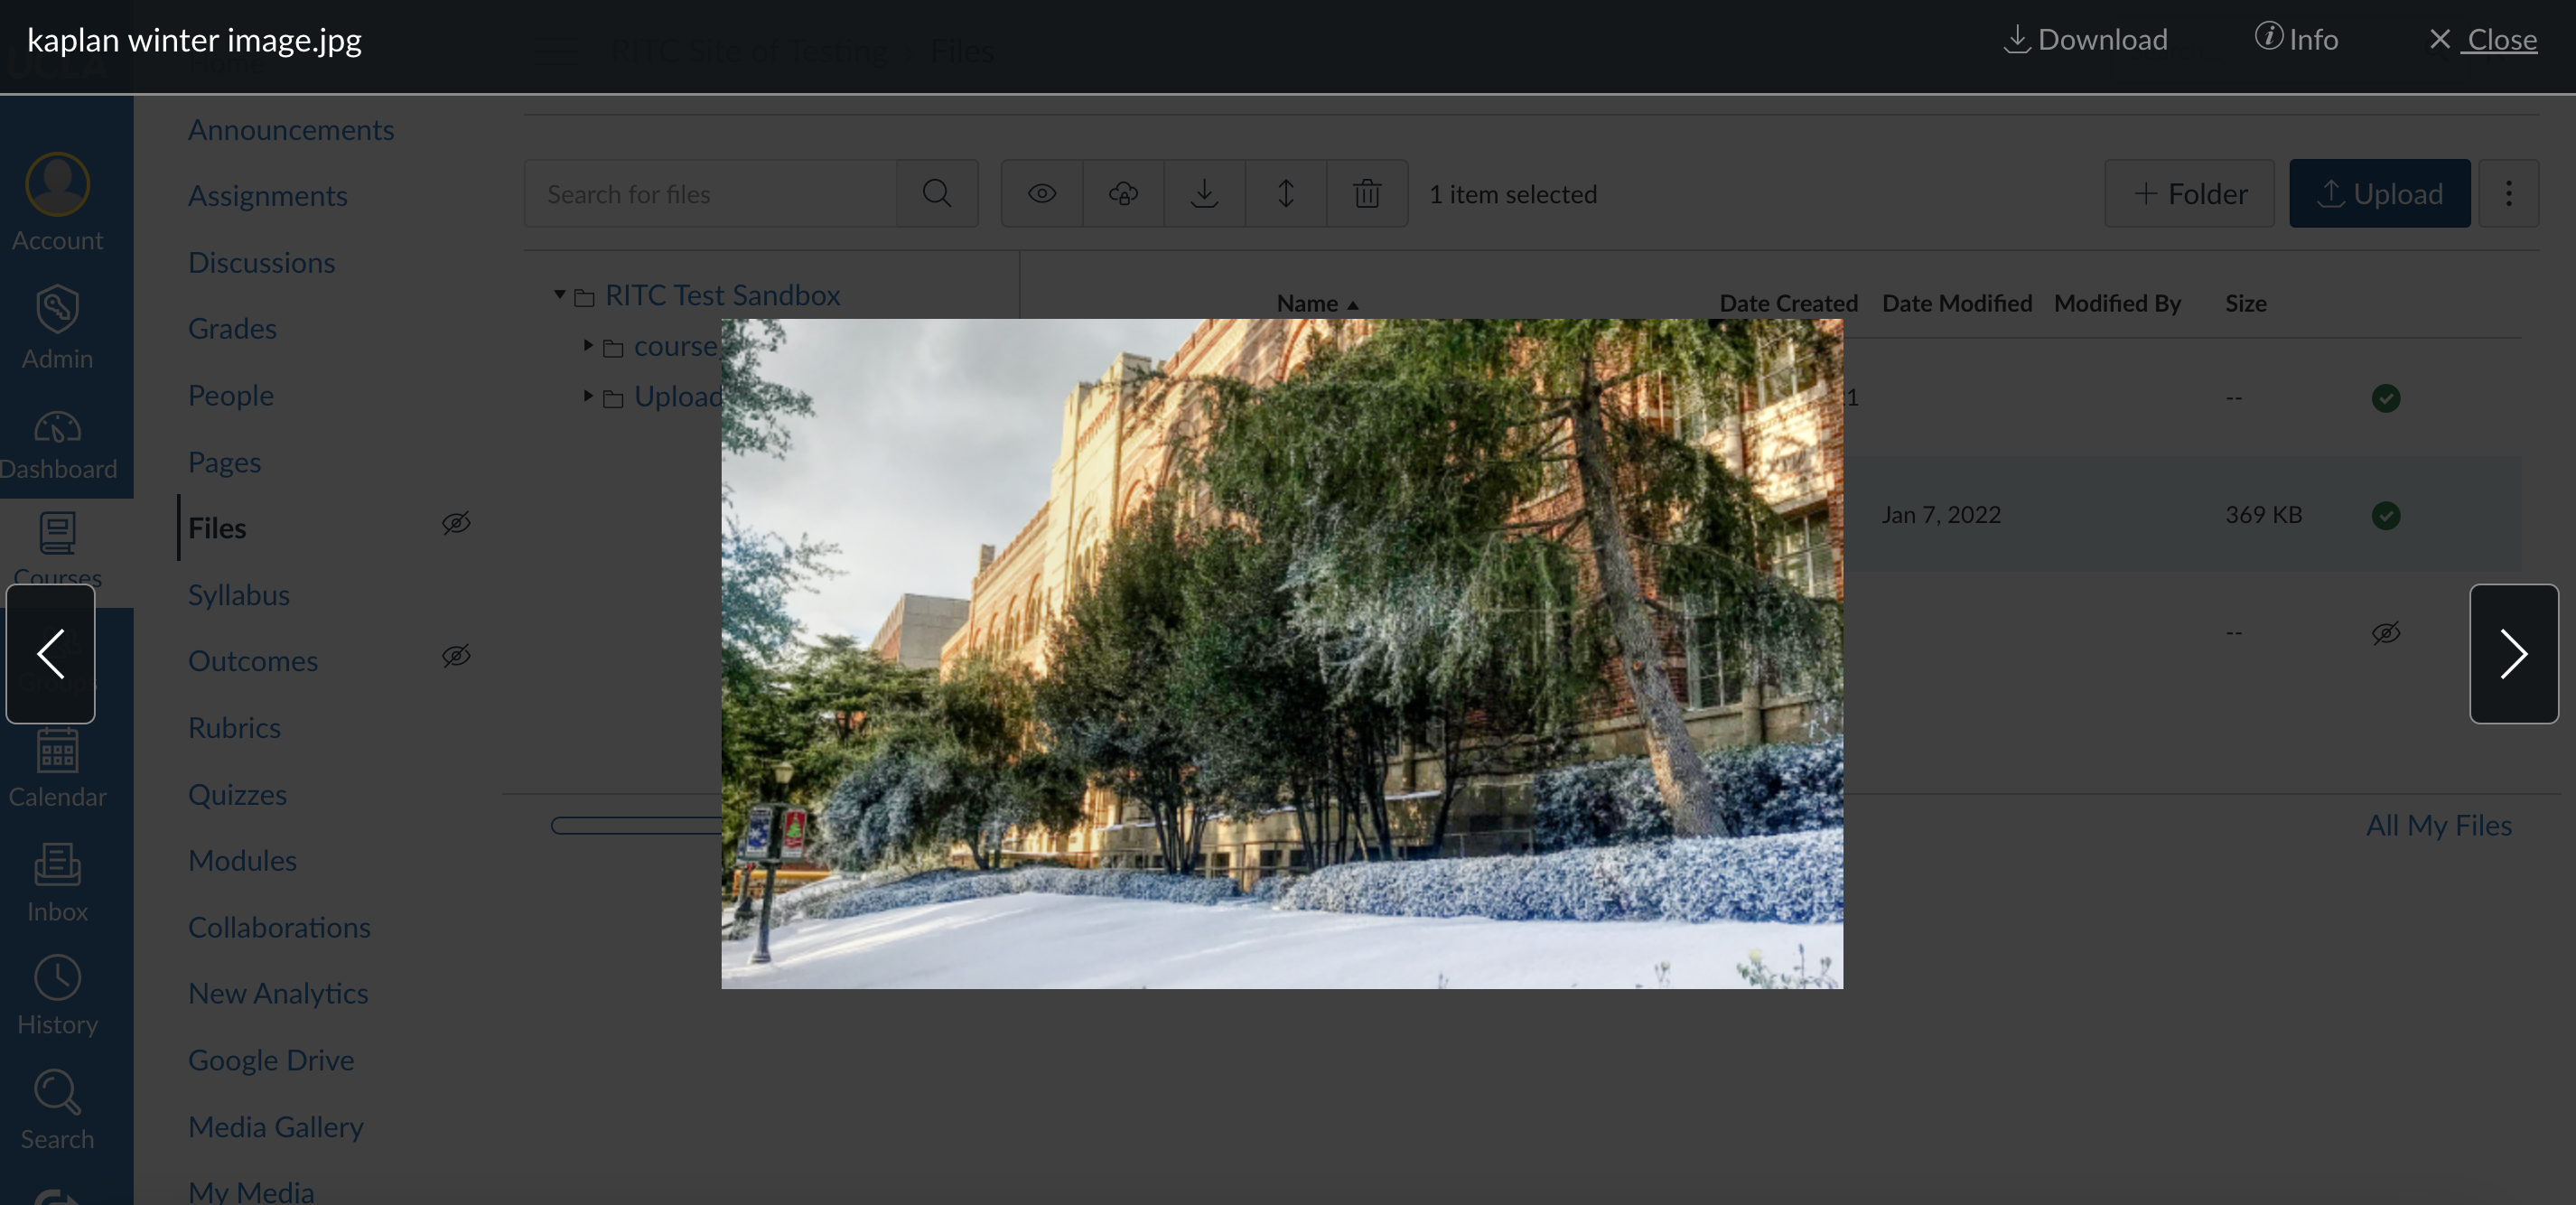
In the lefthand navigation bar, scroll down until you see the “Files” item. When you click on it, you will see something like this:
What can I do with Files?
View all of your files
In Bruin Learn, Files is tied to the user, not a specific course. By clicking on the “All My Files” button in the bottom right hand corner, you can see all of the files you have access to from any Bruin Learn site you are affiliated with.
Upload files
Click on the “Upload” button in the upper right hand corner of the screen and select the file(s) you would like to upload from your computer.
Please note that you can also drag and drop files from your computer into Bruin Learn Files
Download files
Hover over the item you would like to download and move your cursor horizontally to the right side of your screen
Click on the three vertical dots that appear and select “Download”
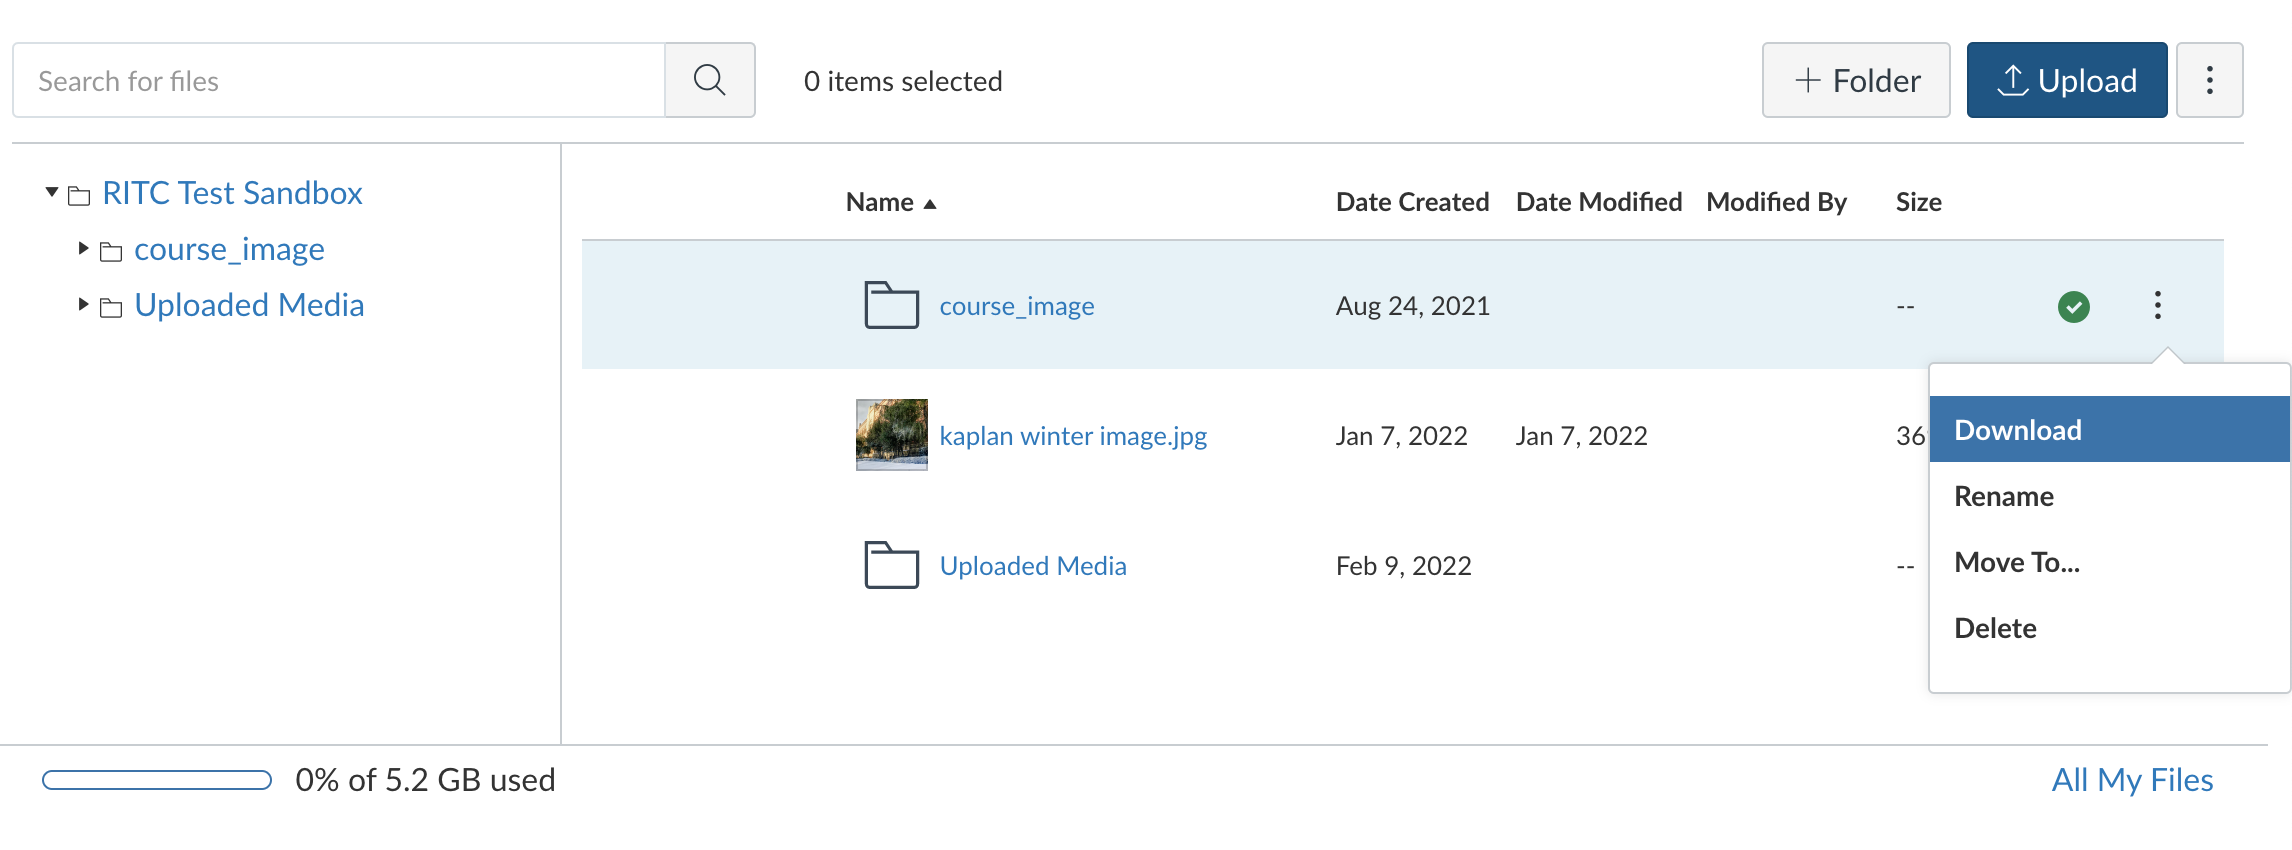
Please note: following the above steps also gives you the option to manage the item you have selected in other ways:
Rename - change the name of the item
Move to - change the location of the item by moving it to a different folder, for example
Delete - delete the item from your site
Add a new folder
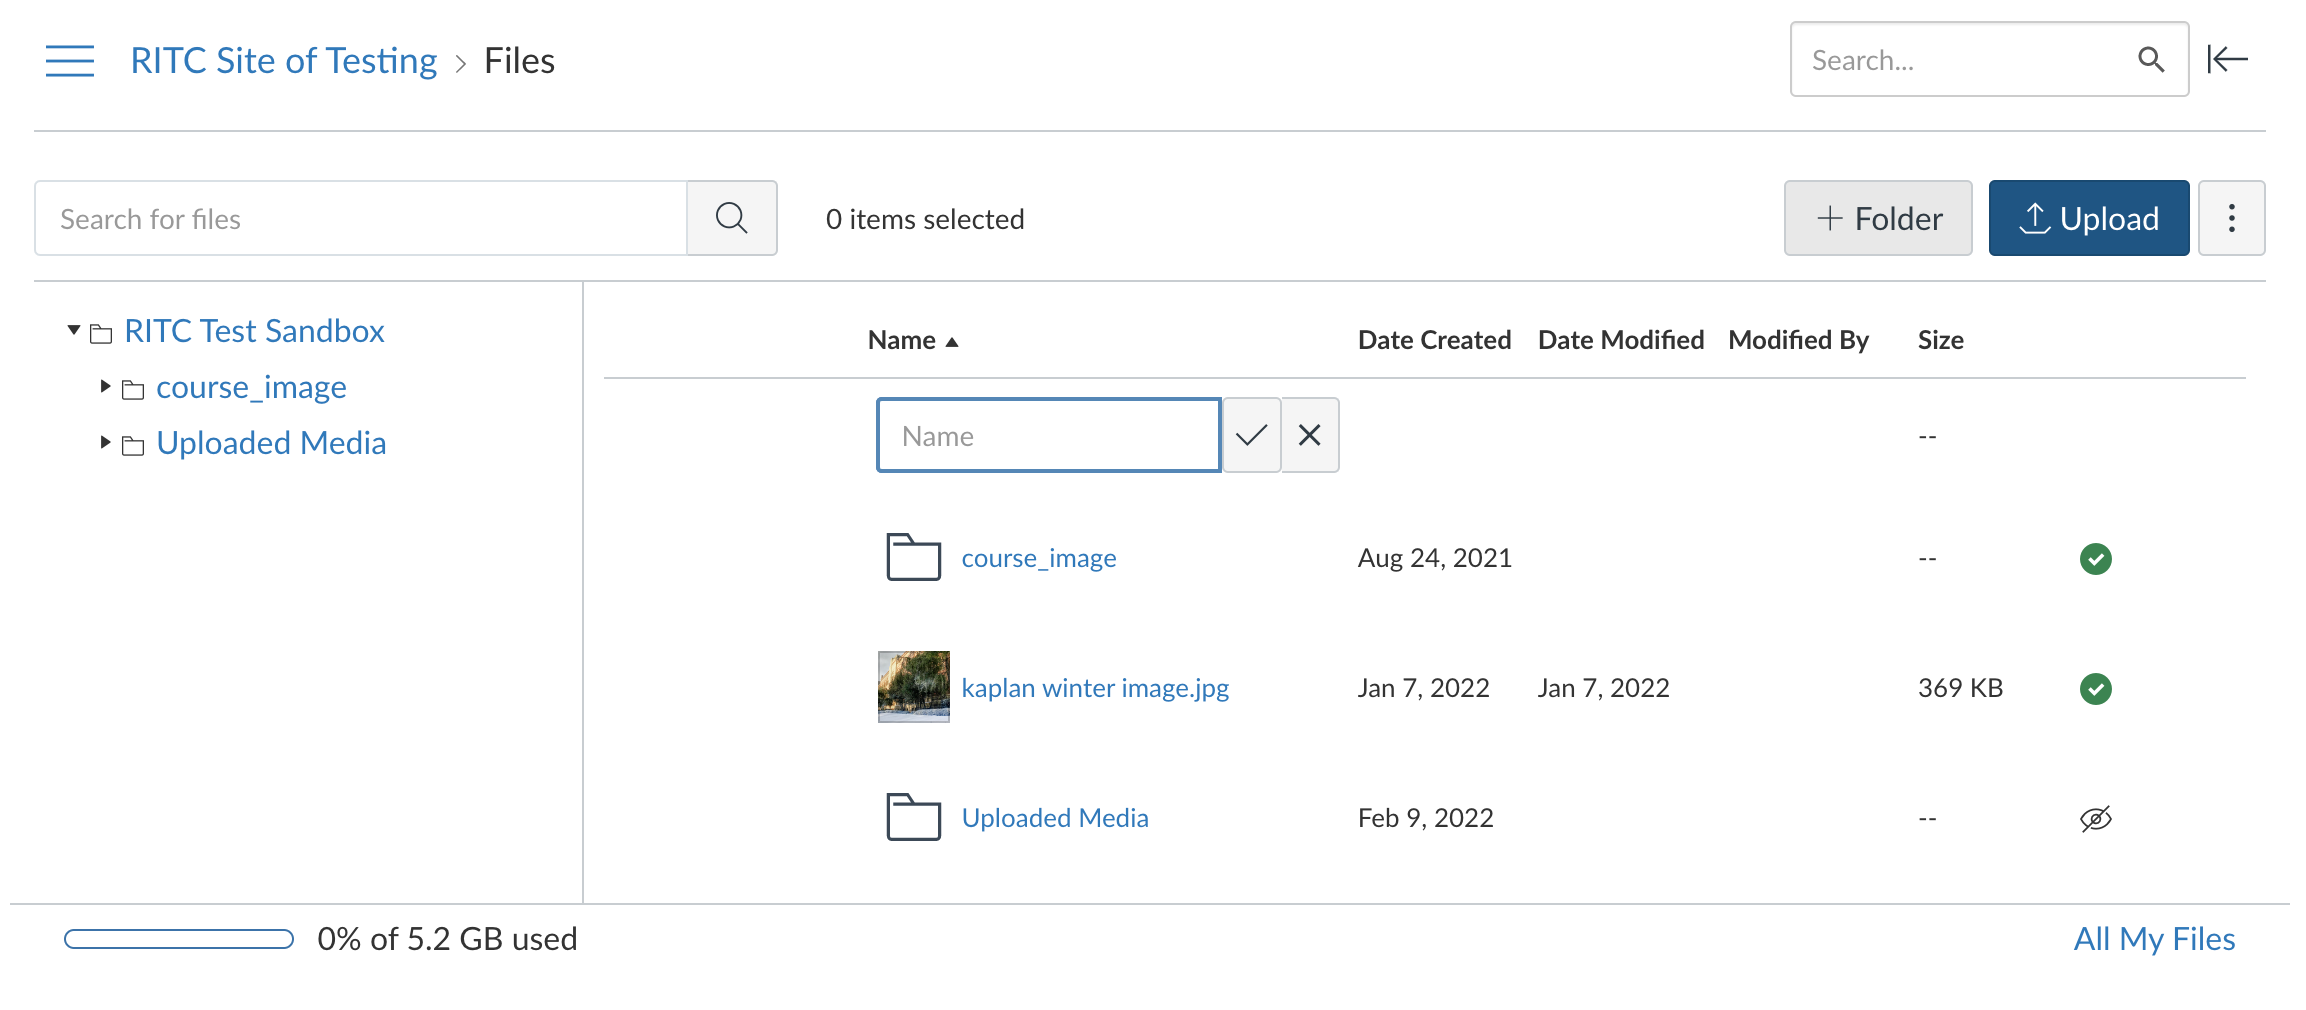
Click on the “+ Folder” button and type in the name of the new folder in the window that appears
Click on the checkmark button to save the new folder
Check how much storage space you have left
See the bar at in the bottom left hand corner of the above image--it shows you what percent of the total storage space you have used
Keep in mind that video and audio files (especially long ones) will take up a more space than other file types such as Word documents
Preview items
Click on the file name and use the arrows on either side of the screen to scroll through your files
When you are done, click the “Close” button in the upper right hand corner of the screen
Please note: from this view, you also have the option to:
Download the file you are previewing by clicking on the “Download” button in the upper right hand corner of the screen
View information about the file such as its copyright status, the date on which it was added to the site, the date on which it was last modified, etc. by clicking on the “Info” button in the upper right hand corner of the screen
Managing Access to Files
Hiding all files from students
Click on “Settings” in the left hand navigation bar.
Click on “Navigation” at the top of the screen.

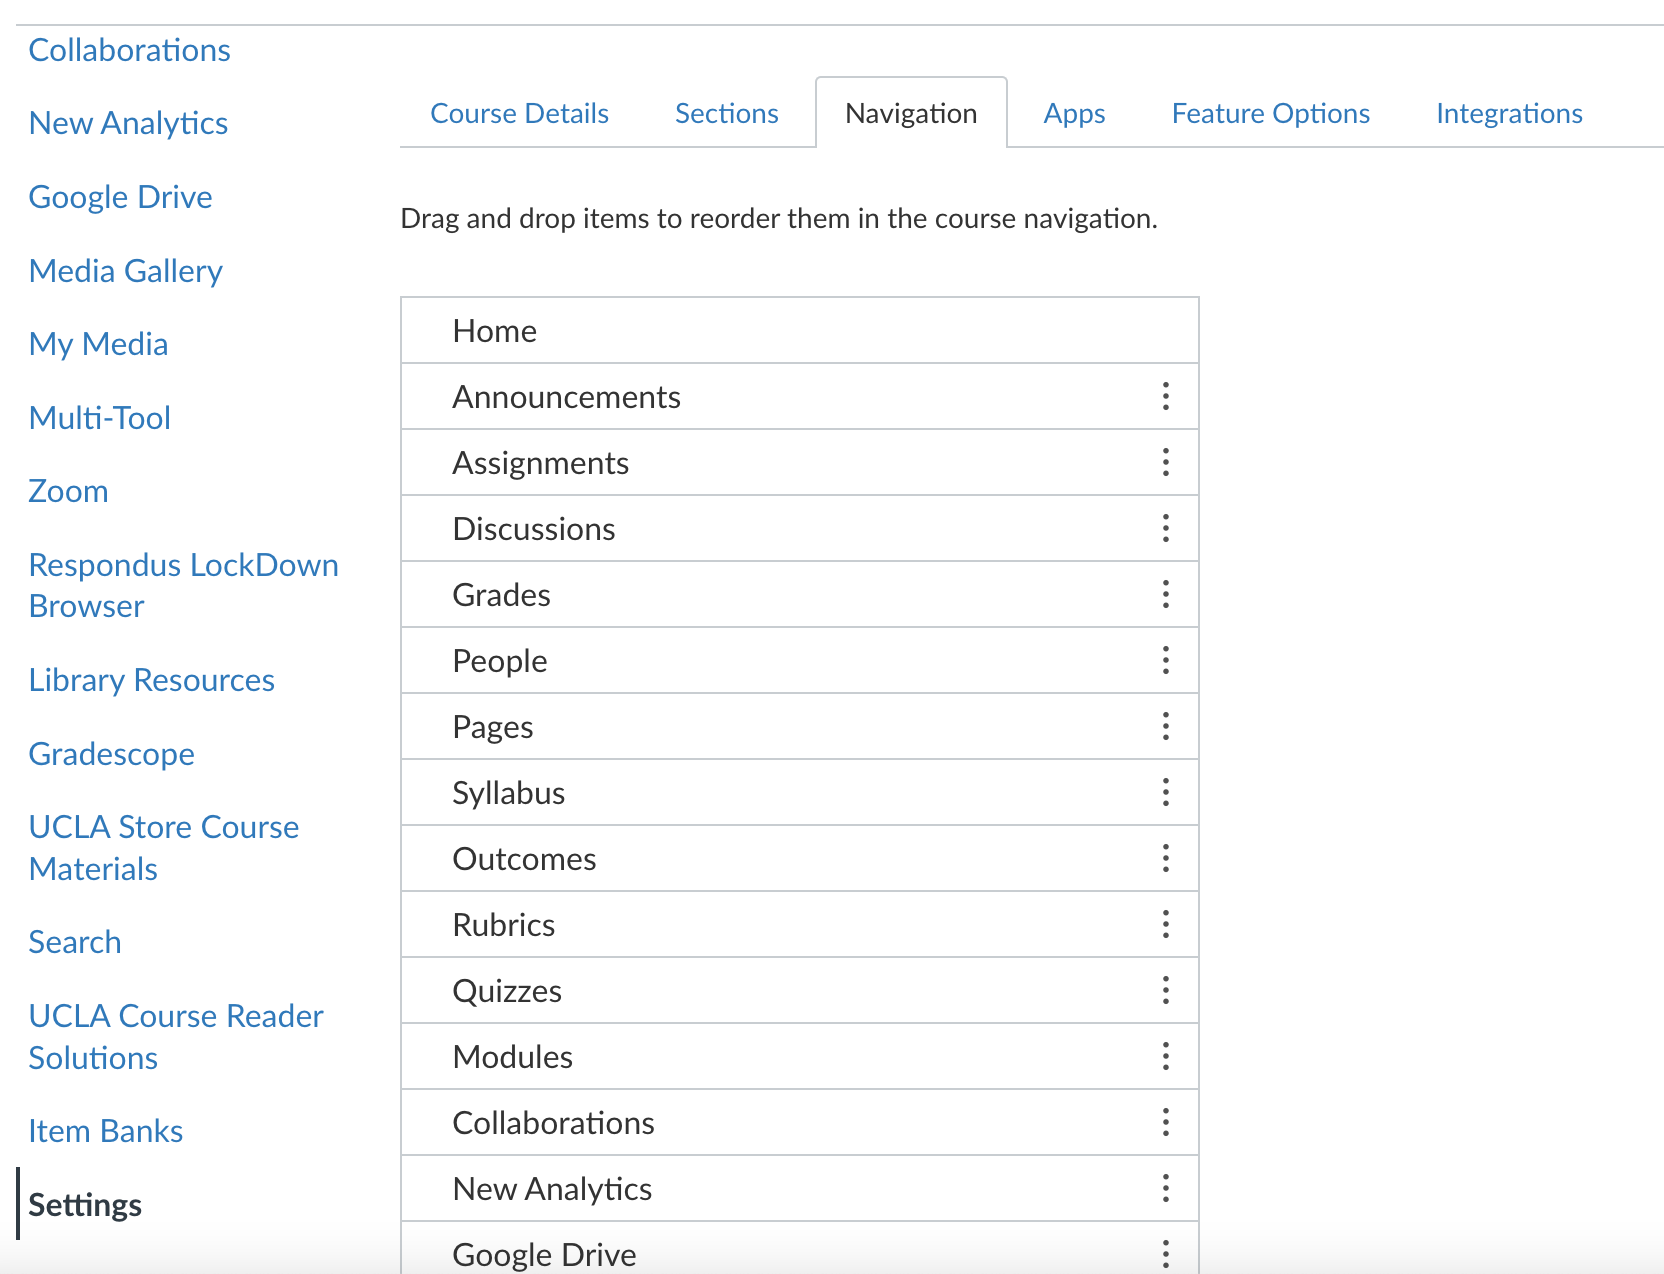
Drag files into the “Drag items here to hide them from students” block.
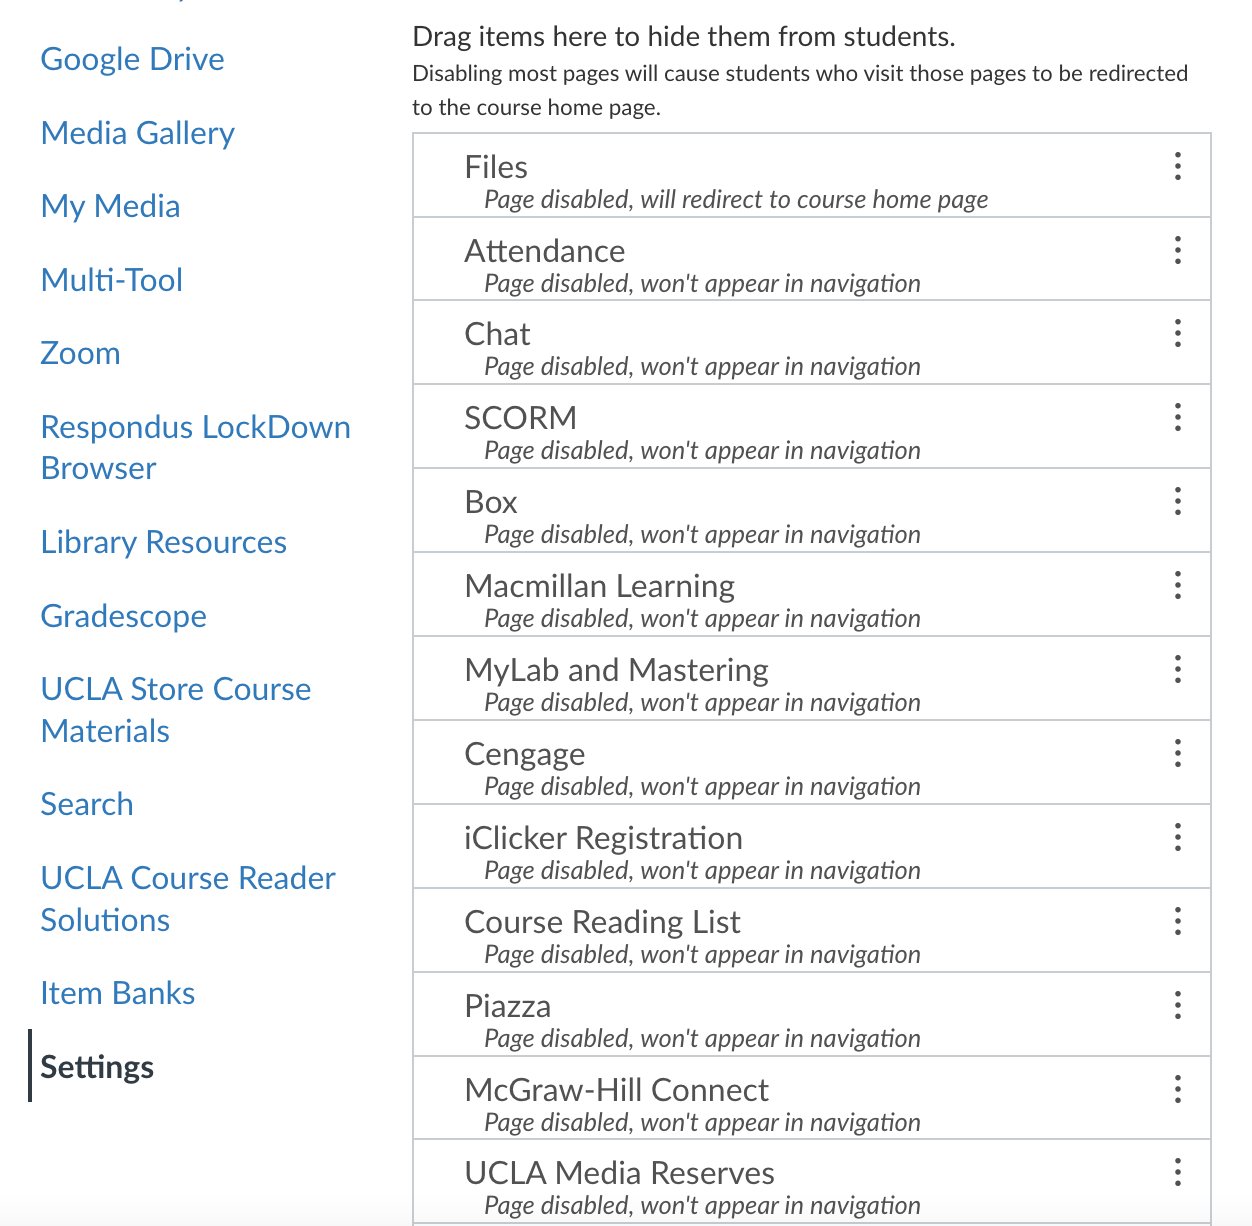
Scroll down to the bottom of the page and click on the “Save” button.
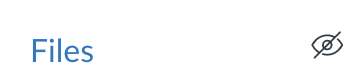
Once you have completed these steps, you should see an icon of an eye with a slash drawn through it next to the “Files” tab on in the lefthand navigation bar.
Managing access to select files/folders
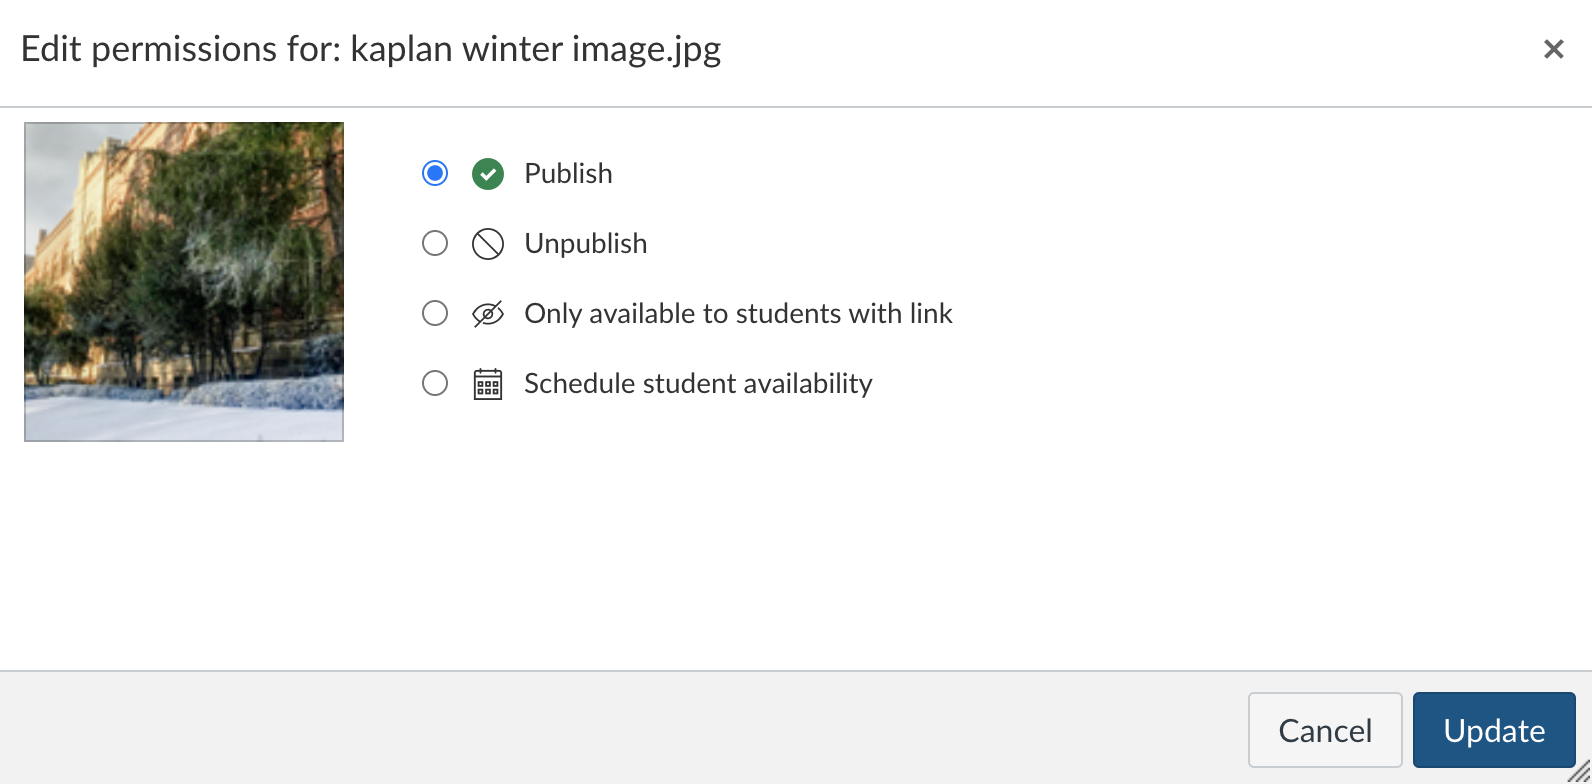
Select the item whose status you would like to adjust
Once you have done so, you will see a menu of four icons appear at the top of your screen.
Click on the second icon from the left (the cloud with a padlock icon). From there you have the option to:
Publish the item
Unpublish the item (hiding it from students)
Make it only available to students with the link
Set an availability window for students to access it
Once you have made your selection, be sure to click on the “Update” button in the bottom right hand corner of the window