| Table of Contents |
|---|
Preparation
Plan! Use a storyboard
| Expand |
|---|
Story Board Samples 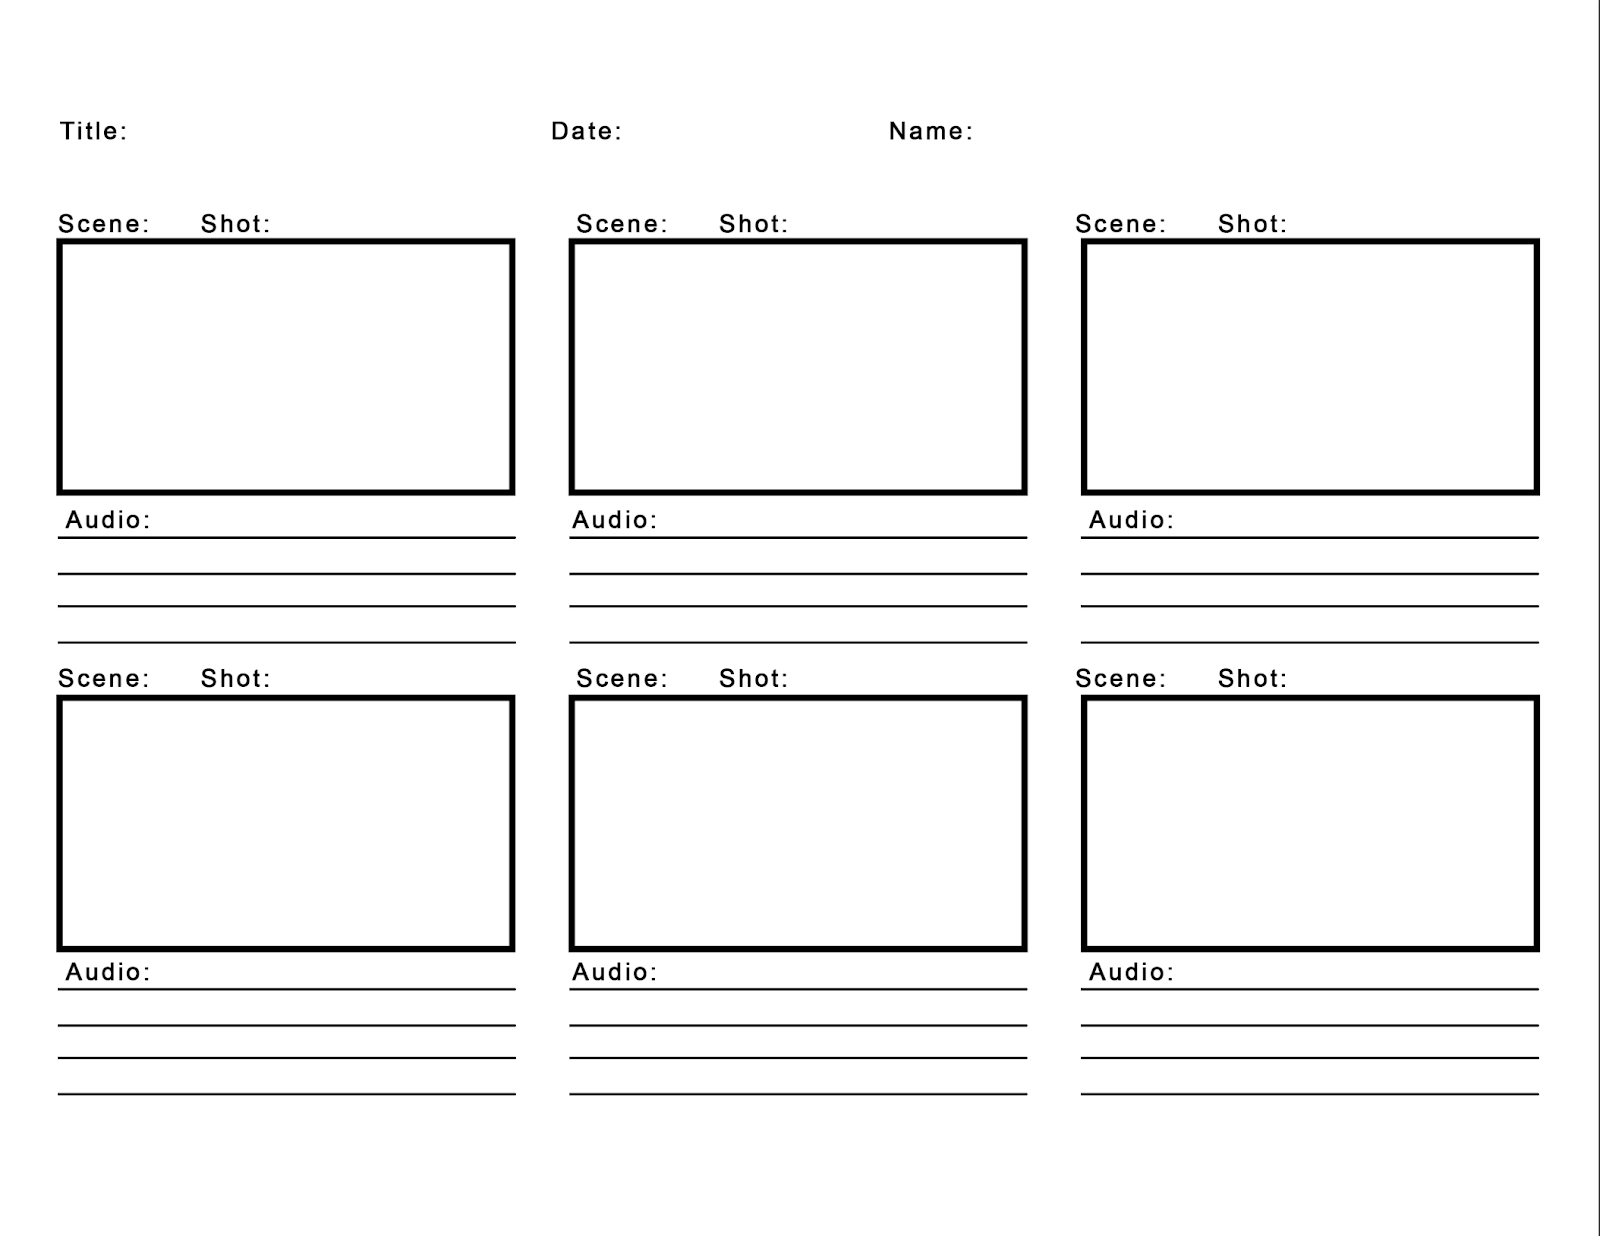 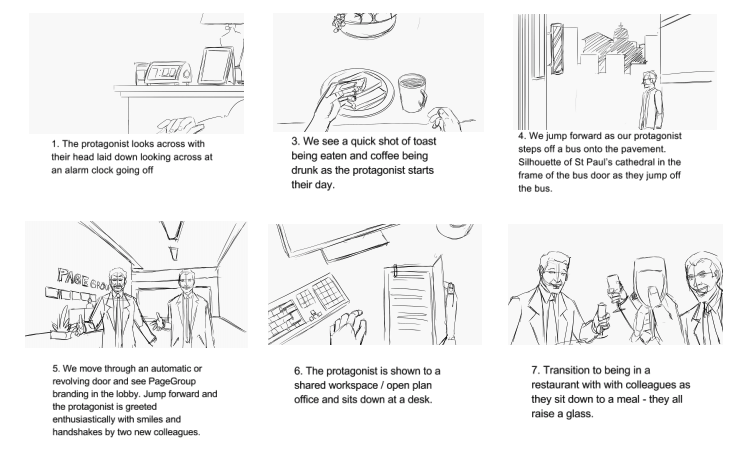 |
Get a solid B-Roll (additional footage that helps set the scene, tone, or tell the story. This footage can also be used for cut scenes, or wherever gaps may appear.)
Use a tripod (or stabilize the camera)
Trim clips before starting in
Timing
All shots need to be longer than you would expect. - normally at least between 2-10 seconds.
Very important for titles and captions, they need to be up for a minimum of 5 seconds, but depending on the content, may need to be longer. Not everyone reads at the same speed.
Editing
Its best to edit your video to your audio. Lay down voice-over track first, and fill any gaps between core clips with content from your B-roll (extra footage that you have already shot). This not only helps ensure your message gets across, but filling in gaps in the imagery or cutting too footage is much easier than forcing your audio to fit.
Minimize special effects - less is more. Stick with one transition type, etc.
Normalize the audio levels (have them all set to the same output volume)
Backup your stuff, and save as often as possible
Once you are happy with what you’ve done, duplicate it so you can further edit (creates an easy restore point).
Editing takes a lot more more time than you may expect
Triple check spelling!
Try to limit camera angles changes on the same subject to less than 45 degrees
Try to make any cuts as the subject begins to move
Remember
Follow your plan
Be creative
Have fun
Editing Software
Android
Adobe Premiere Clip
FilmoraGo
PowerDirector Video Editor App
iOS
iMovie
MacOS
iMovie
VLC
http://www.useyourmac.com/howto/vlc-trim-video.html
Windows
Shotcut
https://shotcut.org/download/
VLC
https://www.wondershare.com/vlc/how-to-use-vlc-as-a-video-editor.html
Capturing a video from YouTube
To capture video, first find the video you’d like to download. Copy and paste the url to the video, and navigate in a new tab to
Once there, paste the video link into the top field, and press the gray download button (not the green one!
...